After making my first petticoat I realised that attempting to hem a petticoat evenly over a bum roll was near impossible. Firstly you cannot do it on a mannequin because you have a very different posture to the mannequin. Secondly having to take more off the front than the back makes it very difficult to get even or pretty as you end up sewing diagonal hems which don’t always fall right. So I did what I should have done the first time and took the fabric from the top for the Peggy and Eliza petticoats.
- Measure from waist to floor over the bum roll at the front, sides and back of your waist. Draw a sketch like below to help you keep track of your measurements.

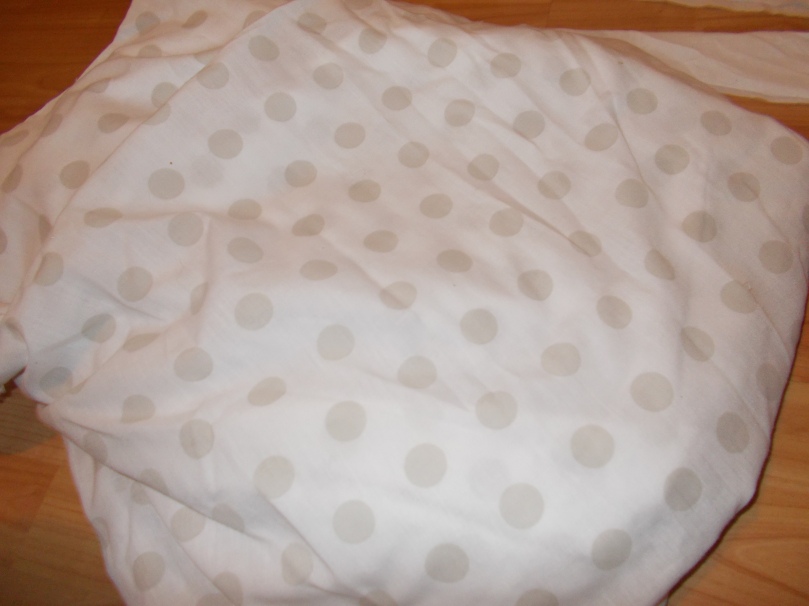
My measurements were 119cm, 116cm, 113cm - Your fabric needs to be at least 150cm wide and as long as twice the side waist measurement (or the front waist + back waist measurement if this is greater). I used bed skirts to make these two petticoats because they were cheap and already had the ruffles on them.
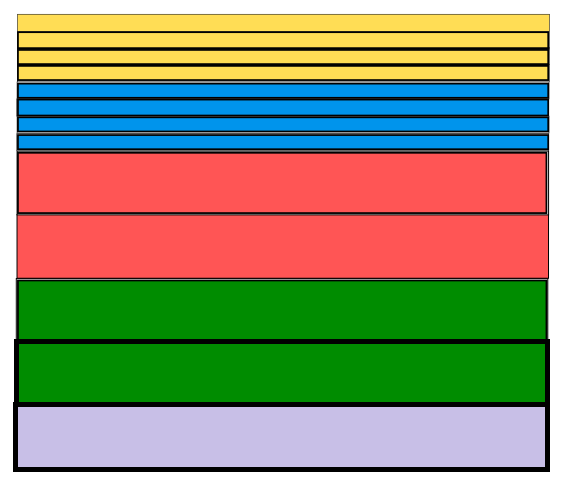
- When you cut your fabric in half it needs to be cut as below. The picture on the left is for 150 cm wide cotton, the picture in the middle would be for fabric <150 cm wide whilst the one on the right is how I cut my bed skirt.

The red and blue lines show how you might have to make two cuts depending on if your front+back lengths are equal to twice your side lengths. If the side lengths are less you’ll be cutting the blue and black lines, if it’s more you’ll be cutting the red and black lines, if the same you’ll cut the black line only. I hope I haven’t confused you too much! - I then pleated as I described in my first method, taking a front measurement and pleating by eye down to this. I did this on my mannequin then wrapped a ribbon around the waist once I was sure the hem was even. This way I had a bit more control over the length and could get a more even hem.
 Pinning by eye
 Ribbon tied over the top
 pins transferred over ribbon
Add a ruffle if you haven’t used a bed skirt, or a lace trim if you want.
- And you’re finished.
 Eliza’s green petticoat
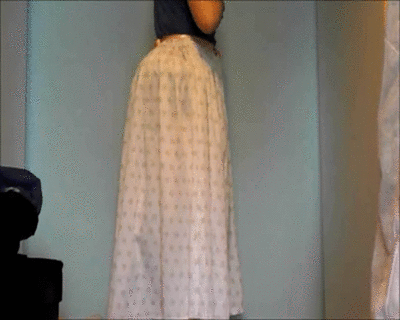
 And Peggy’s white one

 I also decided to colour code the three sets of clothes so I didn’t get mixed up. As I’m going as Angelica I decided pink could be my colour and bought 3 meters of pink ribbon for the waistband.